Quick Answer
On a commercial flooring job, adhesive failures are rarely adhesive failures. They are moisture failures, coverage failures and time failures that surface as loose planks or hollow tiles.
Quality control therefore has three phases and three records:
| Phase | The one number that matters | Record |
|---|---|---|
| Before | Substrate moisture content ≤ 4% | Moisture readings, dated, per area |
| During | Coverage achieved versus coverage specified | Notch size, m² per unit, lift check |
| After | Hollow spots per area, at handover | Survey map with locations |
A project that keeps those three records can defend itself. One that does not will argue about workmanship with no evidence on either side.
1. Before Installation: the Checks That Cannot Be Undone
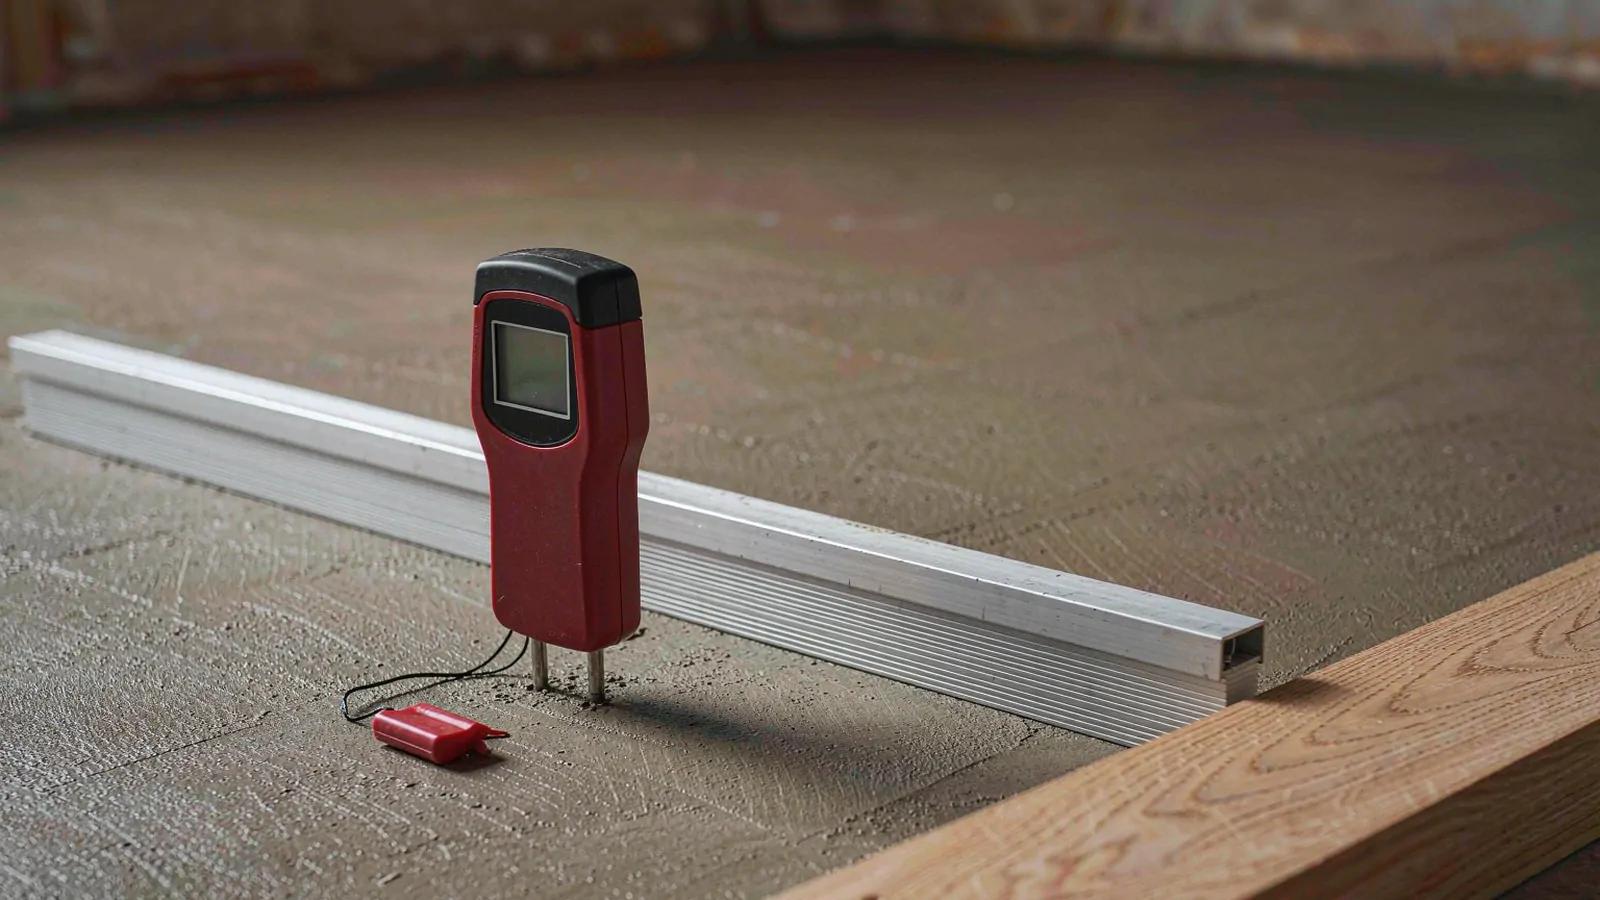
Moisture. The governing figure for wood flooring is a substrate moisture content of 4% or less. Above that, the adhesive is being asked to bond to a moving surface, and the failure appears months later as cupping or open joints. Test per area, not once per floor — screeds dry unevenly, and the last area poured is usually the wettest.
Where a moisture-sensitive system is being installed over a young screed, the options are time or a surface damp-proof membrane. Adhesive selection cannot compensate.
Flatness. Adhesive bridges small undulations; it does not correct a 6 mm step. Check with a straightedge on the specified tolerance before any adhesive is opened — the cost of levelling is always lower than the cost of a failed floor.
Temperature. Adhesive, substrate and room all need to be inside the stated application window. Cold adhesive does not wet out; hot adhesive skins before the plank is laid. In an unheated building in winter, this is often the real cause of a “bad batch”.
Product identity. Confirm the model against the specification and the batch against the TDS — on a standard wood-flooring package, MS-77 is the reference grade. On a multi-system project it is common to have two or three flooring adhesives on site, and they look alike in the bucket.
2. During Installation: Coverage Is the Silent Variable
Coverage is where specification meets practice, and where the gap is largest.
- Notch size sets coverage. A smaller notch spreads further and bonds less. Ask for the coverage figure per m² from the TDS and then check the arithmetic on site: square metres laid against units consumed.
- The lift check. Periodically lift a plank just after laying and look at the adhesive transfer. Full, even transfer across the back means the notch, the open time and the pressure are right. Ribbons with dry patches mean one of the three is wrong.
- Open time versus installation rate. Open time is a property; installation rate is a habit. A crew that lays faster than the adhesive’s open time gets transfer; a crew that lays slower gets a skinned surface that will not bond, and the plank looks fine at handover.
- Rolling. Where the system requires it, roll within the stated window — too late and the adhesive has already taken the load.
Different flooring systems have different adhesive requirements; wood, SPC and PVC systems sets out where they diverge.
For underfloor heating projects, add one check: the heating system must be off and the screed at ambient temperature before and during installation. Commissioning after the adhesive has cured follows the heating protocol, not the other way round. The system-level view of that sequence is in flooring adhesives for acoustic and underfloor heating.
3. After Installation: Cure, Traffic and Handover
Traffic. The temptation on a commercial site is to walk the floor the next morning. Respect the stated cure window for foot traffic and the longer window for heavy loads and scissor lifts; point loads on green adhesive leave permanent depressions.
Protection. Cover the finished floor before the next trade arrives. Most “adhesive failures” that turn out to be mechanical damage happen in the week after laying, not in service.
Hollow spot survey. Tap or scan the floor and mark hollow areas on a plan. A few isolated spots are usually application; a pattern — along a wall, across a doorway, in a cold corner — points at moisture, flatness or open time, and is worth investigating before handover rather than after.
4. The Records That Make the Difference
| Record | Content | Why it matters |
|---|---|---|
| Moisture | Reading, instrument, location, date, per area | Proves the substrate was inside specification at the time |
| Flatness | Straightedge readings per area | Separates substrate defects from adhesive defects |
| Product | Model, batch, quantity consumed, coverage achieved | Ties installed area to material actually used |
| Conditions | Room and substrate temperature, humidity, time of day | Explains cure behaviour and open-time issues |
| Installation | Squad, date, area, notch size, rolling | Attributable workmanship record |
| Handover | Hollow spot map, photographs, punch list | Evidence of the state at completion |
Six records, all of which can be captured on a phone. The value is not administrative: it is the difference between diagnosing a problem and allocating blame for it.
5. Failure Patterns and What They Usually Mean
| Symptom | Most likely cause | Where to look first |
|---|---|---|
| Planks lifting at the ends | Substrate moisture, or adhesive skinned before laying | Moisture record for that area |
| Hollow sound across a whole room | Coverage shortfall (notch too small, or spread too thin) | Units consumed versus m² laid |
| Localised hollows along a wall | Cold substrate, or adhesive applied into a cold corner | Temperature log and time of day |
| Adhesive still soft after the cure window | Product mixed up, or applied too thick, or cold | Batch and product record |
| Tiles or planks creeping at joints | Wrong adhesive class for the system, or plasticiser interaction | Specification versus product identity |
Notice that only the last line is a product-selection problem. The rest are checks that were skippable and skipped.
6. A One-Page Control Sheet for the Site
- Moisture tested per area, ≤ 4%, recorded.
- Flatness within tolerance, recorded.
- Adhesive model and batch match the specification.
- Temperature inside the application range at start and during.
- Notch size as specified; coverage check by lift test.
- Open time respected — no laying onto skinned adhesive.
- Rolling and pressure per the system requirement.
- Cure window respected before traffic and loading.
- Floor protected before the next trade.
- Hollow spot survey completed and marked on a plan.
The broader procurement decisions that sit around this sheet — models, quantities, phasing — are covered in the flooring and interior bonding procurement guide.
Discuss Your Flooring Project Requirements with INGADA
If you are specifying an adhesive for a commercial flooring project, send the system and substrate, the moisture and flatness results, the area and programme, and whether underfloor heating is involved.
INGADA can confirm the adhesive class and coverage figure for the system, the temperature and open-time limits the programme must respect, and the checks worth recording for handover.
Performance depends on substrate moisture, flatness, coverage and site conditions. Product data defines the limits; the records show whether they were met.