Quick Answer
Almost every façade sealant failure was decided before the bead went in. By the time the symptom appears — a stain, a split, a bead hanging off one face — the cause is weeks or months in the past, and the responsible party is often not the one holding the cartridge.
Six failures account for most call-backs:
| Symptom | Usual cause | Prevented by |
|---|---|---|
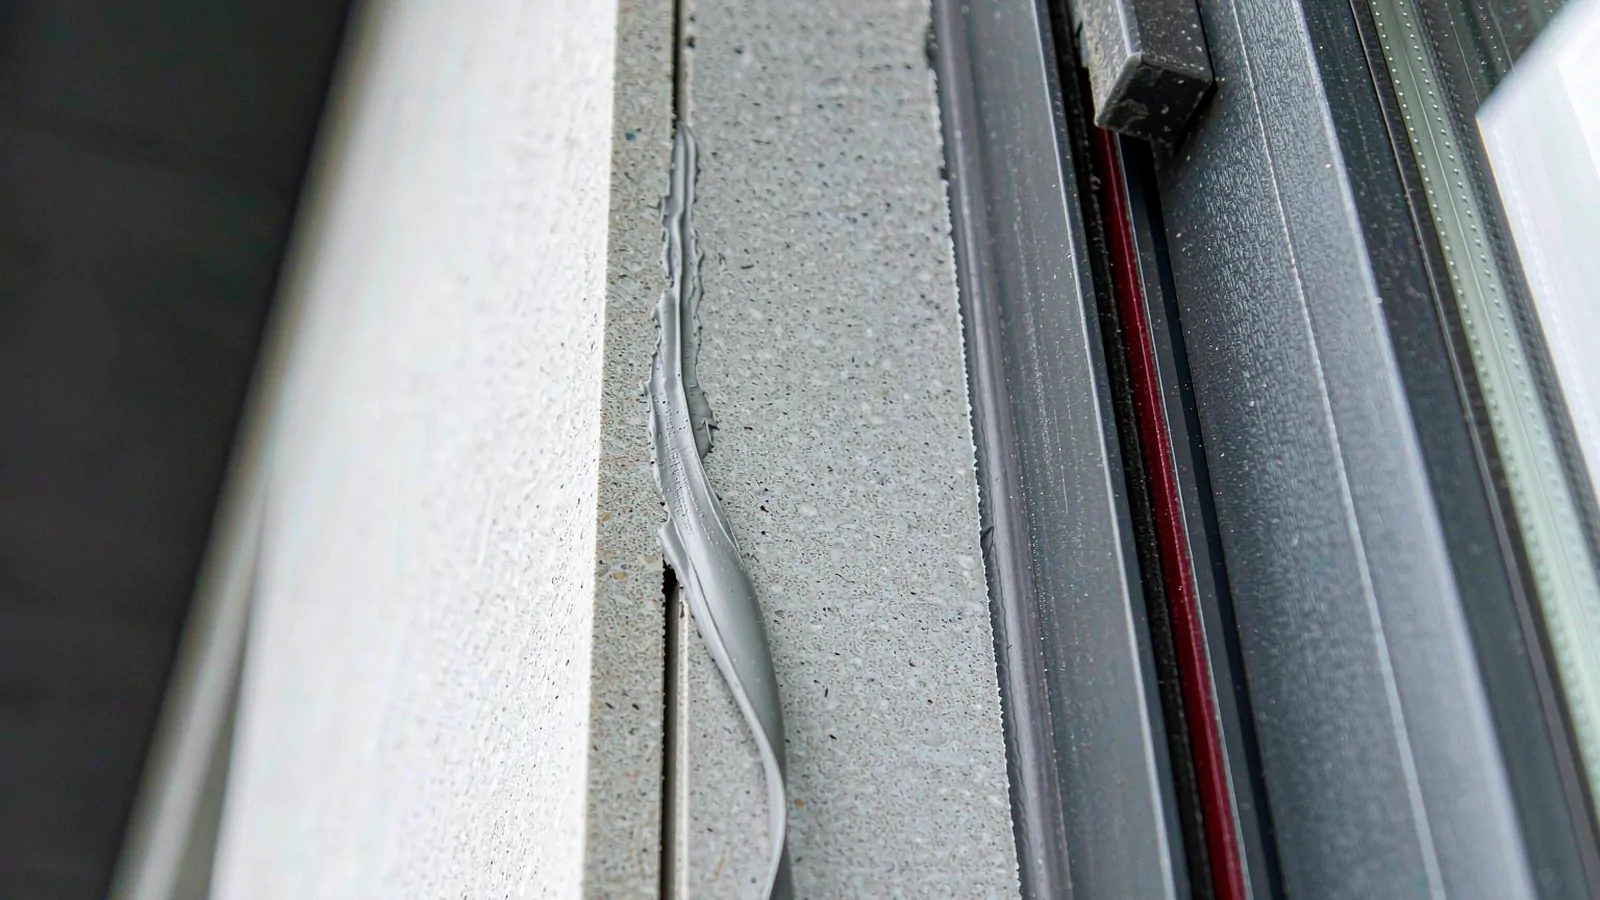
| Bead lifts cleanly off one face | Adhesion failure: contamination, no primer, three-sided bond | Surface preparation and an adhesion test |
| Split down the middle of the bead | Movement exceeds the product class, or joint too shallow | Movement calculation and joint geometry |
| Dark halo or staining on stone or light metal | Plasticiser or oil migration | Choosing a formulation with no staining declaration |
| Blistering and bubbling | Moisture or solvent trapped behind the bead | Substrate dryness and cure-appropriate product |
| Bead slumped or thinned on a slope | Wrong rheology for the surface | Anti-sag specification and application trial |
| Early dirt pickup and chalking | Surface profile and cure exposure | Tooling and protection during cure |
The specification-side checks that prevent these failures are set out in the building envelope sealant specification checklist.
Read the table from the right-hand column: each prevention is a decision made in specification or supervision, not in the factory.
1. Adhesion Failure: the Most Common and the Most Preventable
Adhesion failure looks dramatic — a bead that peels away leaving a glossy, clean substrate — and it is almost always a site problem.
Four causes, in order of frequency:
- Surface contamination. Dust, release agent, oil film, silicone residue from a previous bead. A clean-looking surface is not a clean surface; the correct cleaner and a two-cloth wipe matter more than the brand of sealant.
- Three-sided adhesion. Sealant bonded to both joint faces and the back of the gap cannot deform in shear, so the first significant movement tears it. A backer rod or bond-breaker tape removes the third bond — and is the single most-skipped step in façade work.
- Missing or wrong primer. Some substrates need one; the TDS says which. Applying primer to a damp or dusty surface is worse than not applying it.
- Moisture at the interface. A joint that looks dry can have a damp substrate behind it, especially concrete and masonry after wet trades.
Substrate expectations across the whole facade set are in facade and glazing solutions.
The check that catches all four is an on-site adhesion test on the actual substrate, performed with the same preparation as production work. It takes minutes and it is the only evidence that survives an argument.
Substrate-specific expectations are covered in facade sealant compatibility across glass, aluminium and stone — stone and coated metal each add their own failure modes.
2. Cohesive Failure: When the Joint Won the Argument
A split down the centre of the bead is a cohesive failure: the sealant itself tore. It means the bond was strong and the sealant was stretched beyond its capability.
Two causes:
- The movement class was too low for the joint. A ±25% product in a joint designed for ±35% will fail at the first large cycle, typically the first summer or the first winter after installation.
- The joint is too shallow. Depth set by habit rather than by the width-to-depth ratio reduces the sealant’s effective movement capability. A bead that is thin relative to its width cannot elongate; it tears.
Both are specification errors, and both are cheap to prevent: calculate the movement, then size the joint to the product class — the relationship between width and displacement class is worked through in expansion joint sealant selection.
3. Staining: the Failure That Cannot Be Repaired
On natural stone and light-coloured coated metal, a dark halo around the bead is permanent. It is not dirt, and cleaning will not remove it.
The mechanism is migration: oil or plasticiser moves from the cured sealant into a porous or coated surface and stays there. Two specification answers:
- For natural stone, require a no-staining declaration for the specific model — the stone-facade grade in this range is MS-635, whose TDS declares no staining on natural stone.
- For metal, prefer a formulation stated as oil-free; SR-35 carries an oil-free formulation whose TDS describes preventing substrate staining.
Two cautions. First, no-staining is a model-level property, never a range-level one. Second, a spare panel test is worth the ten minutes: apply a bead, cure it fully, and look at the surface after a week — not after an hour.
4. Bubbling and Blistering
Bubbles in a cured bead usually mean something came out of the substrate or out of the sealant:
- Substrate moisture driven off by heat after the bead has skinned.
- Solvent or cleaner residue trapped under the sealant.
- Application temperature outside the stated range, causing skin-over before the bead has wet the surface.
- Deep joints applied in one pass, where the outer skin forms while the interior is still mobile.
The practical controls are unglamorous: measure substrate moisture on concrete and masonry, respect the cleaner’s flash-off time, and apply in the temperature window the TDS states rather than the one that suits the programme.
5. Design-Stage Causes That Show Up Later
Three decisions made on the drawing board produce failures on site:
Joint geometry with no movement allowance. A 6 mm joint between two 3 m aluminium panels has nowhere to move. The sealant will do what it can for one season.
Incompatible adjacent materials. Setting blocks, gaskets, previous sealant and coating systems all interact. Where two sealants meet, compatibility testing covers both.
No drainage path. Sealant is not a waterproofing system. Where water reaches the joint and has no route out — blocked weeps, a sill with no fall — the bead is being asked to hold water permanently, and no product is specified for that.
6. The Pre-Installation Check That Prevents Most of It
Before the first cartridge is opened on a façade:
- Movement calculated and the class stated in the specification.
- Joint width and depth measured against the drawing, with the width-to-depth ratio checked.
- Backer rod specified by diameter, not “whatever is on site”.
- Substrate identified with its finish, and the preparation method written down.
- Adhesion test performed and recorded, with the failure mode noted.
- Staining test on a spare panel for stone and light metal.
- Weather window checked for the application temperature range.
- Records started: batch numbers, locations, dates, inspector.
That list is the difference between a façade that is inspected once and a façade that is inspected every year.
7. What to Do When It Has Already Failed
Diagnosis before replacement, always:
- Identify the failure mode — adhesive, cohesive, or stain. They have different causes and different fixes.
- Check the joint dimensions against the specification, not against the drawing.
- Check the batch and the documents — was the product the approved model?
- Look at the neighbours — a single failed bead is often an application defect; a repeating pattern is a specification defect.
- Replace with the same class, after fixing the cause. Replacing a ±25% bead with the same ±25% bead in a joint that needs ±35% simply restarts the clock.
Discuss Your Façade Sealant Specification with INGADA
If you are investigating a façade sealant failure or specifying to prevent one, send the joint details, the movement calculation, the substrate and finish, and the failure photographs with the model and batch used.
INGADA can confirm the class and formulation for the joint, state which models carry no-staining declarations, and identify whether the cause sits in the product, the detailing or the application.
Failure diagnosis depends on the actual joint, substrate and application record. Product data cannot substitute for an on-site investigation.